Related Topics
Customize the Access Portal Design
You can customize the Access Portal design to reflect your company's brand. For example, you can add a page title, custom logos, and a background image.
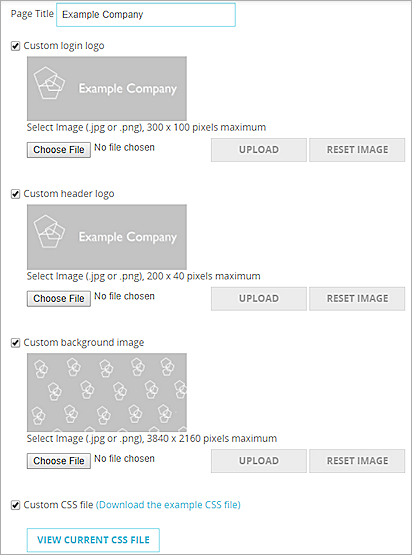
Images must be .JPG or .PNG files that are less than 2 MB in size. For the best results, we recommend these image dimensions:
- Login logo — 300 x 100 pixels maximum
- Header logo — 200 x 40 pixels maximum
- Background image — 3840 x 2160 pixels maximum
To maintain the aspect ratio, the background image scales if you resize the browser window. Design and test your background image with this in mind.
To customize page elements, such as buttons and text boxes, you can upload a CSS file. For more information about CSS, see Customize Access Portal Page Elements with CSS.
Add a Page Title and Images
- Select Subscription Services > Access Portal.
- Select the User Connection Settings tab.
- Select Configure.
The VPN Portal page appears. - Select the Customization tab.
- In the Page Title text box, type a page title to appear in the page header.
- To add a logo to the login page, select Custom login logo.
- Click Choose File.
- Browse to the file.
- Click Upload.
- To revert to the previously uploaded file, click Reset Image.
- To upload a logo to the applications page, select Custom header logo.
- Click Choose File.
- Browse to the file.
- Click Upload.
- To revert to the previously uploaded file, click Reset Image.
- To upload a background image, select Custom background image.
- Click Choose File.
- Browse to the file.
- Click Upload.
- To revert to the previously uploaded file, click Reset Image.

- To preview your changes, select Preview Login Page or Preview Application Page.
- To customize page elements, such as buttons and text boxes, select Custom CSS Fileand follow the instructions in the Customize Access Portal Page Elements with CSS topic.
- Select Subscription Services > Access Portal.
- Select the User Connection Settings tab.
- In the VPN Portal section, click Configure.
The VPN Portal Settings dialog box appears. - Select the Customization tab.

- In the Page Title text box, type a page title to appear in the page header.
- To add a logo to the login page, select Custom login logo.
- Click Upload Custom logo.
- Browse to the file and click Open.
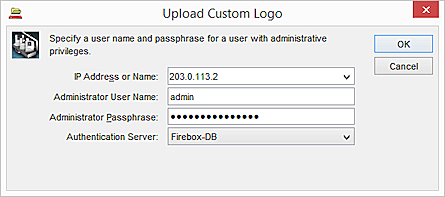
The Upload Custom Logo login page appears.

- Type the user name and password for a user with Device Administrator credentials.
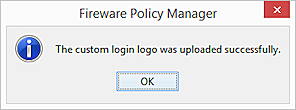
A message appears that says whether the upload was successful.

- To upload a logo to the applications page, select Custom header logo.
- Click Upload Custom Logo.
- Browse to the file and click Open.
The Upload Custom Logo login page appears. - Type the user name and password for a user with Device Administrator credentials.
A message appears that says whether the upload was successful.
- To upload a background image, select Custom background image.
- Click Upload Custom Background Image.
- Browse to the file and click Open.
The Upload Custom Logo login page appears. - Type the administrator user name and password for the Firebox.
A message appears that says whether the upload was successful.
- To customize page elements, such as buttons and text boxes, select Upload Custom CSS File and follow the instructions in the Customize Access Portal Page Elements with CSS topic.
See Also
Customize Access Portal Page Elements with CSS