Applies To: Cloud-managed Fireboxes
A captive portal is a web page that you redirect clients to when they connect to an internal or guest network on your cloud-managed Firebox. You can add a captive portal to a wired or wireless network. The captive portal web page that appears is called a splash page.

With a captive portal, you can restrict Internet-only connectivity for network clients. You can also enforce policies so that clients can access the Internet only after they review and accept the Terms of Use and Privacy Policy, or provide user details in a web form on the captive portal splash page.
Do not enable a captive portal for a cloud-managed Firebox if you have enabled a captive portal for an access point on the same network. This can cause network access issues.
The captive portal and splash pages are hosted within WatchGuard Cloud. You can create up to 30 unique splash pages that you can use with multiple networks, and you can customize the images and text for each splash page.
Add a Captive Portal
To add a captive portal to a network, from WatchGuard Cloud.
- Select Configure > Devices.
- Select a cloud-managed Firebox.
- Click Device Configuration.
- From the Authentication section, click the Captive Portal tile.
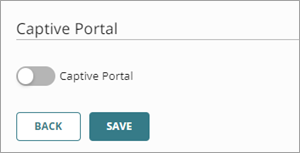
The Captive Portal page opens.

- Enable Captive Portal.

- Select the Captive Portal tab.
The Captive Portal settings page opens.

- Click Select Splash Page.
The Splash Pages selection page opens.

- Select a splash page, then click Add. To create a new splash page, click Add Splash Page. For more information about how to create a new splash page, go to Add Splash Pages for a Captive Portal.
- Configure these advanced captive portal settings:

Walled Garden
A walled garden is a list of domains and IP addresses that network clients can access before they connect through the portal splash page. Add any resources that the splash page requires to display correctly, such as images that the page requires. Consider adding your company and support websites for users to access assistance before they connect to your network through the splash page.
Click Add Destination to add a host IP address, network IP address, host range IP addresses, or FQDN.
You can add a maximum of 50 walled garden list entries.
The walled garden list does not support wildcards. For example, you cannot specify a FQDN such as *.watchguard.com.
The walled garden already includes default internal domains for branding images from WatchGuard Cloud and fonts from fonts.googleapis.com and fonts.gstatic.com.
Session Timeout
Type the time in days, hours, minutes, or seconds, after which the captive portal session of the network client expires and the client must re-authenticate to the portal splash page.
Idle Timeout
Type the time in days, hours, minutes, or seconds, after which a network client disconnects and must re-authenticate to a captive portal session through the portal splash page. If the client re-establishes a connection before the idle timeout value, the client does not have to re-authenticate with the portal. The default is 0, which means a client does not have to re-authenticate unless the Firebox or captive portal service is restarted.
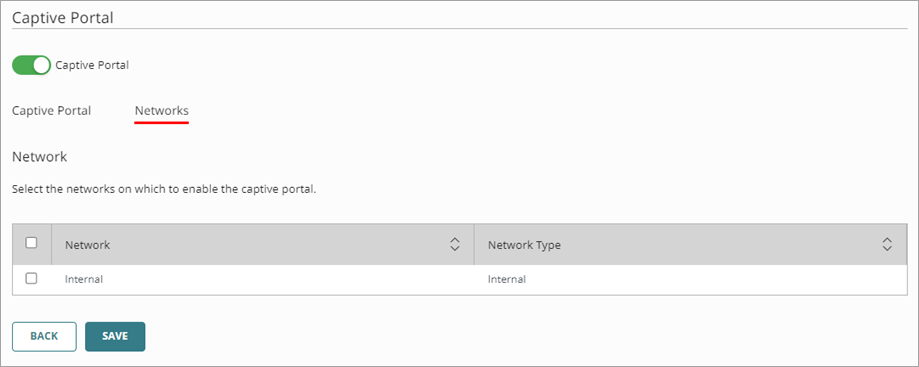
- Select the Networks tab.
The available Firebox networks appear.

- Select an internal or guest network to use with the captive portal.

- Click Save.
When you deploy the changes in WatchGuard Cloud, the cloud-managed Firebox creates these system policies to support the captive portal:
- Allow External Web Server
- Allow Captive-Portal-Users
For more information, go to System Firewall Policies.