Applies To: WatchGuard Advanced EPDR, WatchGuard EPDR, WatchGuard EPP
In the Device Control > Allowed Devices section of a workstations and servers profile, you can add computers and devices in your network that you want to allow usage of with no restrictions. For information on how to add allowed devices, go to Configure Device Control (Windows Computers).
If the device you want to allow has not been connected to the user computer, it does not show in the Add Devices dialog box. You can import the device ID to enable usage.
To determine the device unique ID and create an import file:
- Open Windows Device Manager.
- Select the device you want to obtain the ID for.
- Right-click the device name and select Properties.
- Select the Details tab.
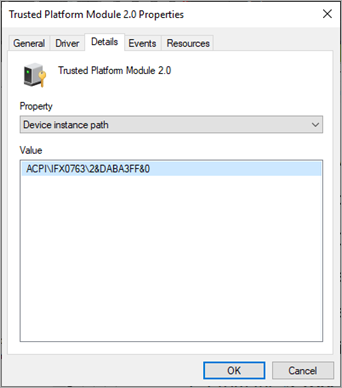
- From the Property drop-down list, select Device Instance Path.
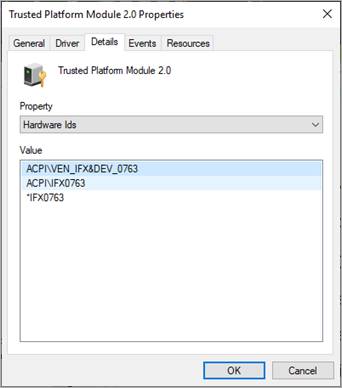
The Value box shows the device unique ID. If no value appears in Device Instance Path, you are not able to obtain the device ID. You can instead use the Device Hardware ID to identify it.

- To show the Device Hardware ID, from the Property drop-down list, select Hardware IDs.

- In a text file, add the IDs of the devices you want to allow.
To import a list of device IDs that you want to enable access to:
- In WatchGuard Cloud, select Configure > Endpoints.
- Select Settings.
- From the left pane, select Workstations and Servers.
- Select an existing security settings profile to edit, copy an existing profile, or in the upper-right corner of the window, click Add to create a new profile.
The Add Settings or Edit Settings page opens.

- Enter a Name and Description for the profile, if required.
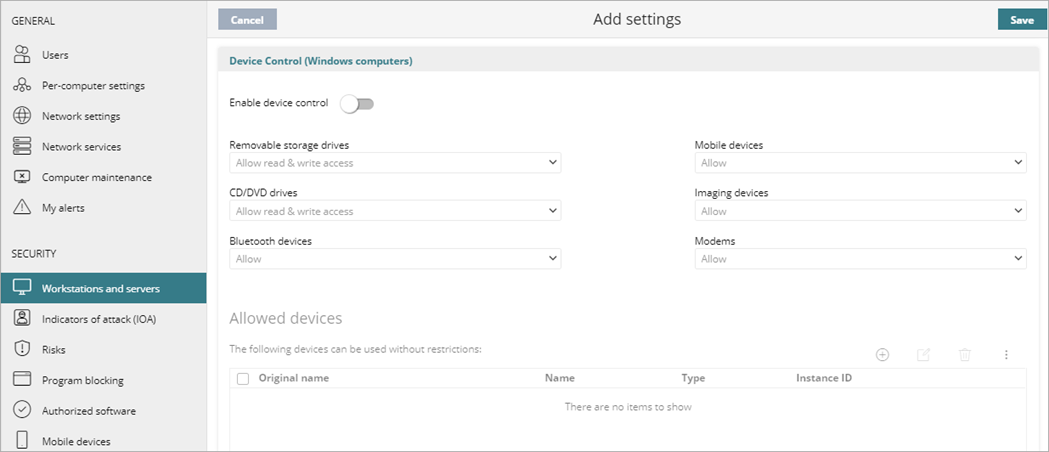
- Select Device Control.
- Enable the Enable Device Control toggle.
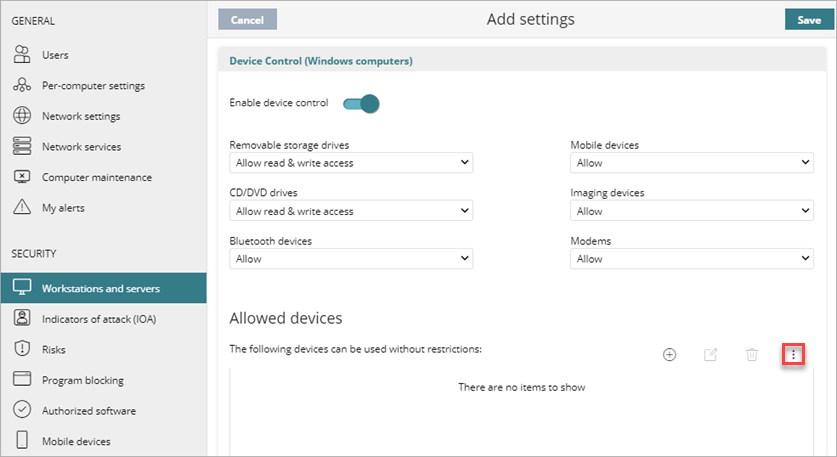
- In the Allowed Devices section, click
 and select Import.

- Select the file and click Import.
- Click Save.