Protect Endpoints with DNSWatchGO Client
With DNSWatchGO Client, you can extend the protection of DNSWatch when your users leave the safety of your network. Simply install the client application on computers that leave your network, then use DNSWatch in any browser to configure and apply policies. DNSWatchGO takes control of the DNS requests for each device and applies both content filtering and security policies. For more information about DNSWatchGO Client deployment, go to About DNSWatchGO Client.
To get started with DNSWatchGO Client:
Step 1 — Download and install DNSWatchGO Client on a portable device
- Log in to your DNSWatch account in the WatchGuard website.
- Select Deploy > DNSWatchGO Clients.
- Click Download DNSWatchGO Installer.
- If prompted, save the installer package to an appropriate location.
- To copy the token to the clipboard, in the Account API token for DNSWatchGO Client section, click
 .
.
If you have more than one token, it does not matter which token you copy. - Browse to the saved location and double-click the DNSWatchGO_Client executable to begin the installation.
- In the DNSWatchGO Client Setup wizard, click Next.
The Client Configuration page opens. - To paste the account API token in the text box, press Ctrl+V. Click Next.
The Ready to Install DNSWatchGO Client page opens. - To begin the installation, click Install.
- When setup is complete, click Finish.
Your device is now protected from malicious sites and phishing attempts. To block content by categories such as gambling or alcohol, you must create a content filter policy.
Step 2 — Create a content filter policy
The content filter policy blocks domains based on content categories. For more information about content filter policies, go to Manage User Access to Content in DNSWatch.
- Select Configure > Content Filtering Policies.
The Content Filtering Policies page opens with the Policies tab selected. - Click Create New Policy.
The Create Policy page opens. - In the Policy Name text box, type a descriptive name for the policy and click Save Policy.
- To enable Safe Search enforcement for a search engine, on the Safe Search tab, select the Enable Safe Search check box next to the search engine provider and click Save Safe Search.
- On the General tab, click Save Policy.
The Edit Policy: General page opens. - Select the Categories tab.
The Edit Policy: Categories page opens. - Select the check boxes for the categories you want to filter.
- To see subcategories, click the arrow next to the category name. If all subcategories are selected, the check box next to the top-level category is selected. If only some subcategories are selected, the top-level category displays a hyphen. If you do not want to block that category, clear the check box.

For a complete list of available categories and descriptions, go to About DNSWatch Content Filter Categories.
- Click Save Categories.
Step 3 — Test DNSWatchGO Client protection
With DNSWatchGO Client installed on a portable device, such as a laptop, users cannot view domains in blocked categories or that appear in the malicious domains feed.
It is important to perform the test when the device is not connected to a DNSWatch protected network.
- In your browser, go to test.strongarm.io.
- Confirm the correct block page appears.
If DNSWatch correctly blocks the test domain, you see this block page:
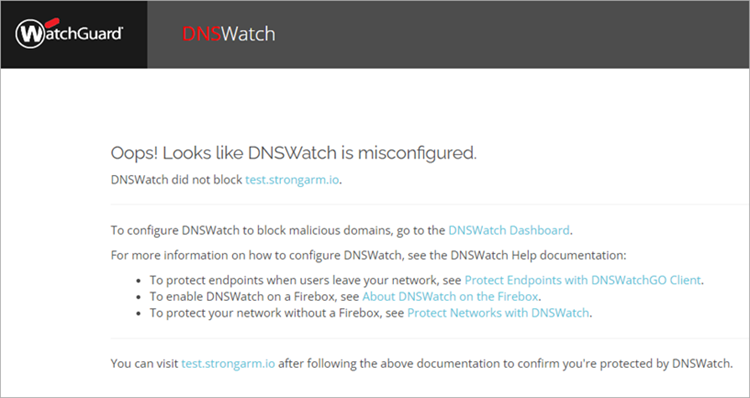
If DNSWatch does not operate correctly, you see this message:

To protect your network, configure your local DNS server to use the DNSWatch DNS servers. For more information about how to configure your network to use DNSWatch, go to About DNSWatchGO Protected Networks.