Applies To: Wi-Fi Cloud-managed Access Points (AP125, AP225W, AP325, AP327X, AP420)
With the RADIUS plug-in, users can obtain access to the guest Wi-Fi network with their username and password that are configured on a RADIUS server. For example, guest users with RADIUS credentials could be frequent guest visitors or employees from a different location in your organization. Guests are authenticated by the RADIUS server, which communicates to the AP about the success or failure of the authentication attempt.
The RADIUS plug-in does not require any configuration, and you can configure any number of other authentication plug-ins in your portal configuration. However only the RADIUS plug-in or the other authentication plug-ins can be active at the same time in the Captive Portal settings. The RADIUS plug-in only appears on a splash page if you have configured the RADIUS settings in the Captive Portal section of the SSID. Otherwise, the other configured authentication plug-ins are displayed on the splash page. For more information on how to configure portal settings, see Configure SSID Settings.
- To view RADIUS plug-in authentication data, from Analyze, click Analytics, then select the Demographics option from the drop-down list. This data appears in the "Login Method by Duration" and "Login Methods by Location" graphs. For more information, see Demographic Analytics.
- To view guest user entries that authenticated with the RADIUS plug-in, from Analyze, click Analytics, then select Profiles from the drop-down list. For more information, see Profile Analytics.
- To configure QoS (Quality of Service) settings for the RADIUS plug-in, click Portals, then select the Plug-in QoS tab. For more information, see Configure QoS for Plug-In.
To configure the RADIUS plug-in on the portal:
- Open Analyze.
- Click Portals.
- Select the portal name for which you want to configure the RADIUS plug-in, or create a new portal.
- Select the Settings tab.
- Click the RADIUS icon to enable the RADIUS plug-in for the portal.
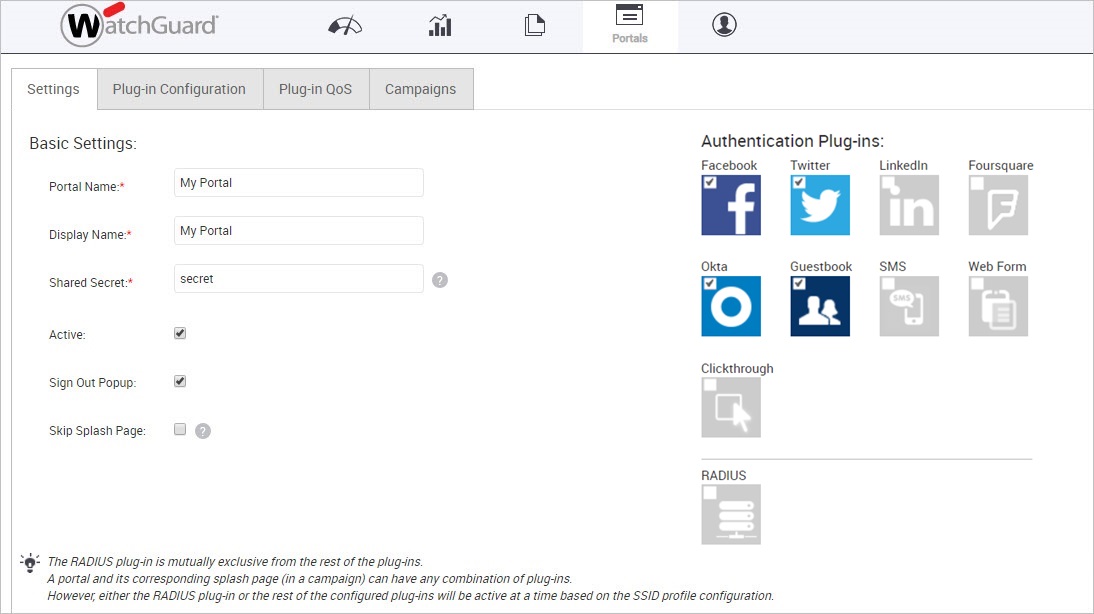
The Skip Splash Page setting is not applicable if the guest uses the RADIUS plug-in for authentication.
- Click Save.
Enable RADIUS Splash Page Authentication in the Captive Portal Configuration
You can enable RADIUS authentication in your Captive Portal configuration so that guests are redirected to the portal splash page to enter their RADIUS credentials when they connect to a guest SSID.
To configure your Captive Portal settings in Discover:
- Select Configure > WiFi > SSID.
- Select an existing SSID or create a new SSID.
- Configure your basic SSID settings.
- Select the Captive Portal tab.
- Enable the Captive Portal check box.
- Select the Cloud Hosted option, or select a Third-Party Hosted captive portal.
- Click Select login method for guest WiFi users.
- Select External RADIUS. For third-party hosted portals, enable RADIUS Authentication.
- Select your RADIUS servers. For more information on how to add RADIUS servers, see Configure RADIUS Servers in Discover.
- Click Save.