Applies To: WatchGuard Advanced Reporting Tool and Data Control
The Advanced Visualization Tool provides quick access to the data generated by WatchGuard EPDR and WatchGuard EDR. You can search and analyze the data with powerful queries that are simple to create.
You create search queries from a data table. After you create the query, you can see the results on the Data Search page, Search History tab.
For information on how to create a query, go to Create a Search Query.
To open the Data Search page, in the Advanced Visualization Tool:
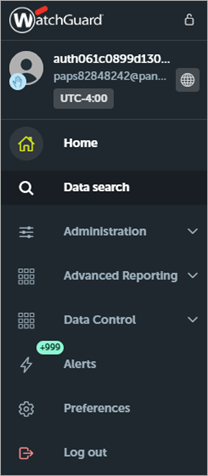
- From the left pane, select Data Search.

Explore Your Data
On the Explore Your Data tab, you can search for a specific data table.

To search for a data table:
- On the Finders tab, from the drop-down list, select a finder, if required.
Finders group and organize the tags applied to data into four levels — Technology, Brand, Type, and Subtype.

- Select a time period above the tag columns to show only data tables that received data over that period, such as the last day or last week.
- Select tags in the columns for the data table you want to see.
When you select the Subtype tag, the search window opens for the selected data table. - To search for a data table, type keywords in the search bar.
The tags filter based on the keywords. - To specify columns to show in the data table before it opens, in the Subtype column next to the tag you want to select, click
 .
.

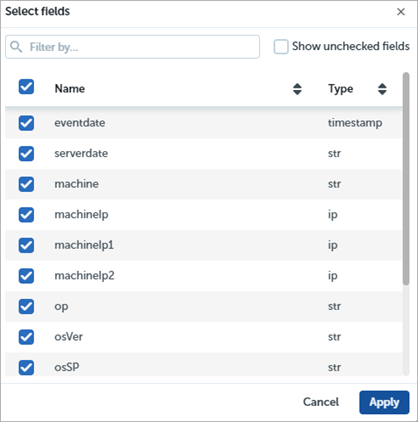
- Click Select Fields.

- Select the columns you want to see in the data table. Click Apply.
The search window opens for the selected data table.
Search History
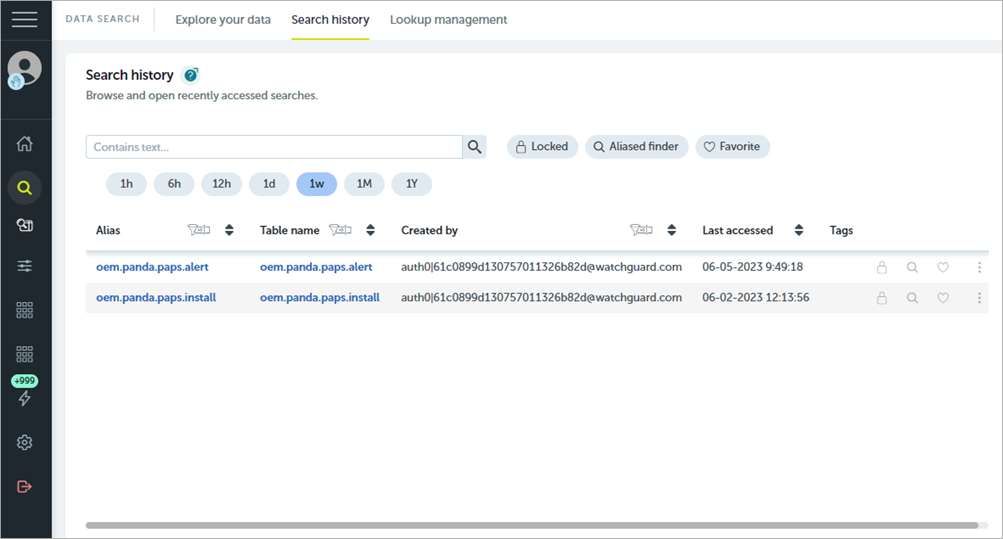
On the Search History tab, you can browse searches you previously ran and filter them for a specific time period.

The Search History table lists all of the searches for the selected time period. You can complete these actions on each search:
- To add a search to your favorite searches, select
 in the search row.
 - To add a search to your aliased finder, select
 in the search row.
 - To block a search, select
 in the search row.
Filter the Search History Table
Above the table, there are multiple ways to filter the searches:
- Select an icon to show only blocked searches (
 ), searches added to your aliased finder (
 ), or favorite searches (
 ).
). - Select a time period to show the searches accessed within that specific time period.
- Type text in the search box and select Filter. The table shows searches that contain the search text in their alias, table name, or user who defined the search. To show all searches, click Clear Filter.
Open a Search
You can open a search to review the data.
To open a search:
- In the Search History table, select the search name in one of these columns:
- Alias — Opens the full search with all operations performed.
- Table Name — Opens the original table.
Lookup Management
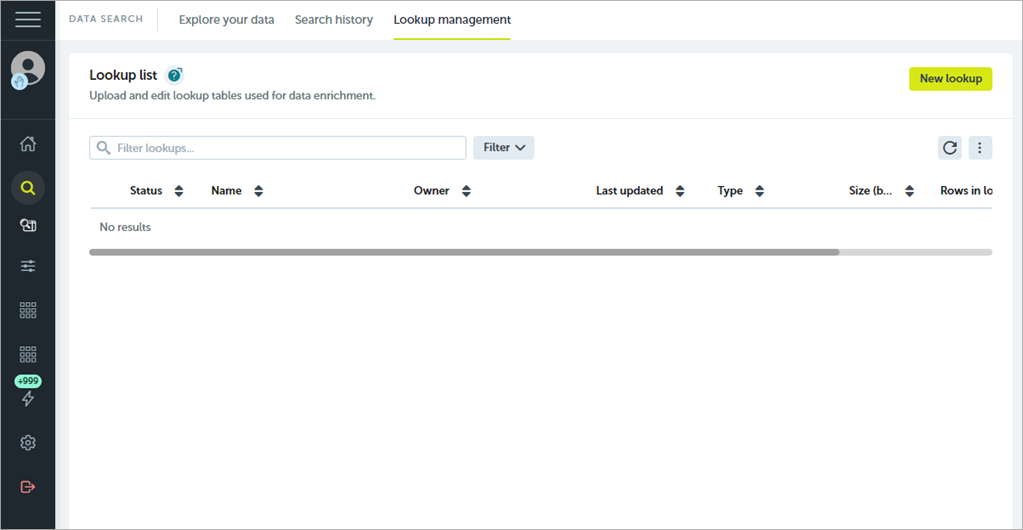
On the Lookup Management tab, you can see all the lookups that you have access to and information that helps you identify them and their content.

Lookup tables enrich the information in raw data tables. They correlate values in the data table with corresponding values in the lookup table. For example, you could correlate a lookup table with IP addresses and their geographical addresses with geographical addresses to create a data table that contains IP addresses during a query.
Lookup tables must be small files, such as a few MB.
For more information, go to the latest information from Devo docs (external link).