Applies To: Cloud-managed Fireboxes
A route is the sequence of devices through which network traffic must travel to get from the source to the destination. With static routing, routing tables are set and do not change. Dynamic routing automatically updates routing tables as the configuration of a network changes. This makes sure that network packets can reach their intended destination, even if a router on the remote path fails. For a cloud-managed Firebox, you can add dynamic routing from the Firebox to another network.
Dynamic Routing Protocols
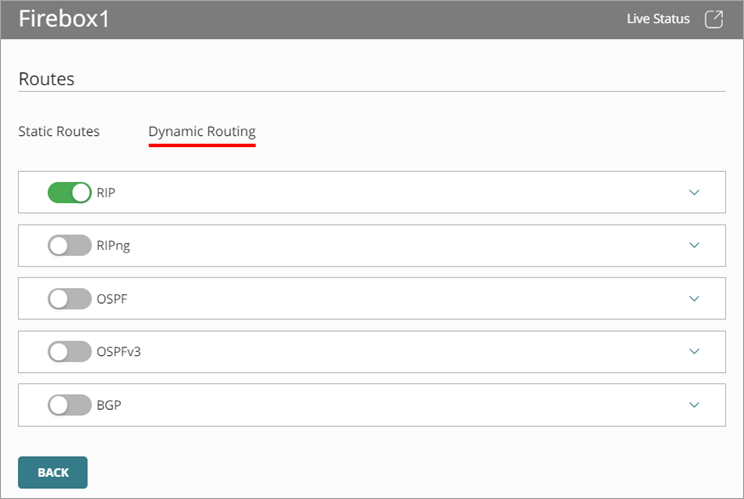
Cloud-managed Fireboxes support the RIP v1, RIP v2, RIPng, OSPF, OSPFv3, and BGP v4 protocols.
- For IPv4 dynamic routing, you must use RIP, OSPF, or BGP.
- For IPv6 dynamic routing, you must use RIPng, OSPFv3, or BGP.
For more information about these routing protocols, go to:
- About Routing Information Protocol (RIP and RIPng)
- About Open Shortest Path First (OSPF and OSPFv3) Protocol
- About Border Gateway Protocol (BGP)
When you enable a dynamic routing protocol, WatchGuard Cloud automatically creates the first-run system policy that the protocol requires. The dynamic routing policies that WatchGuard Cloud automatically creates are:
- DR-RIP-Allow
- DR-RIPng-Allow
- DR-OSPF-Allow
- DR-OSPFv3-Allow
- DR-BGP-Allow
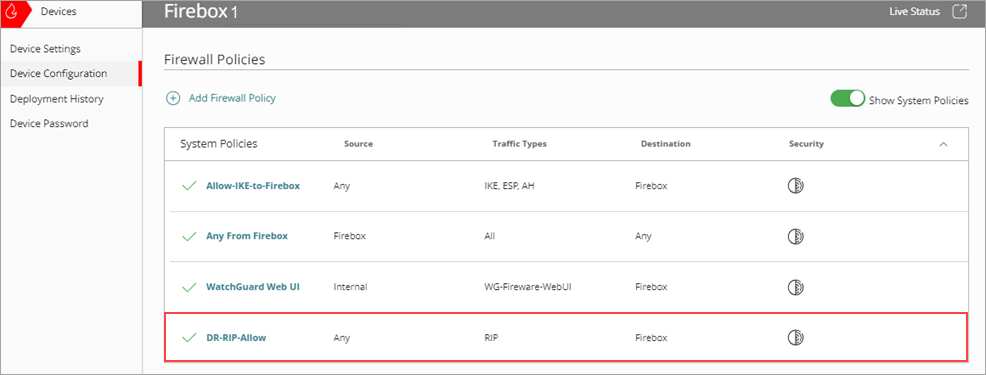
WatchGuard Cloud automatically removes the dynamic routing first-run system policy when you disable the protocol. You can also disable the policy manually.
For more information about system firewall policies, go to System Firewall Policies.
Configure Dynamic Routing
You must use routing commands to create or modify a dynamic routing configuration file. For more information about routing configuration files, go to About Sample Routing Configuration Files.
To configure dynamic routing, from WatchGuard Cloud:
- Select Configure > Devices.
- Select the cloud-managed Firebox.
- Click Device Configuration.
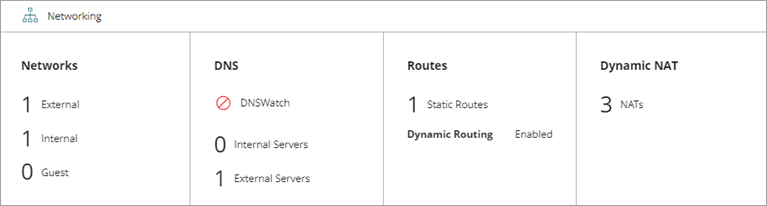
- In the Networking section, click the Routes widget.
The Routes page opens.
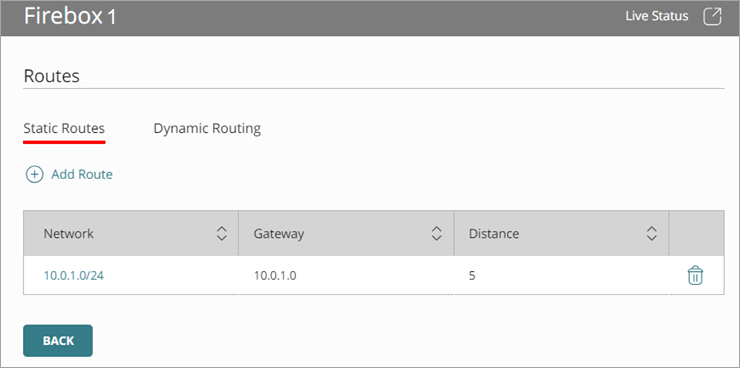
- Select the Dynamic Routing tab.
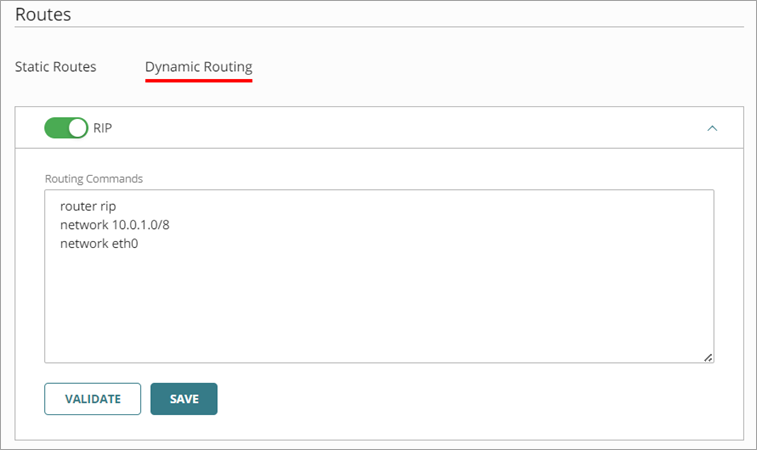
- Enable a dynamic routing protocol.
The Routing Commands window opens.
You can enable more than one routing protocol at the same time.

- In the Routing Commands window, copy and paste, or type, the text of your routing daemon configuration file. For more information about routing configuration files, go to About Sample Routing Configuration Files.
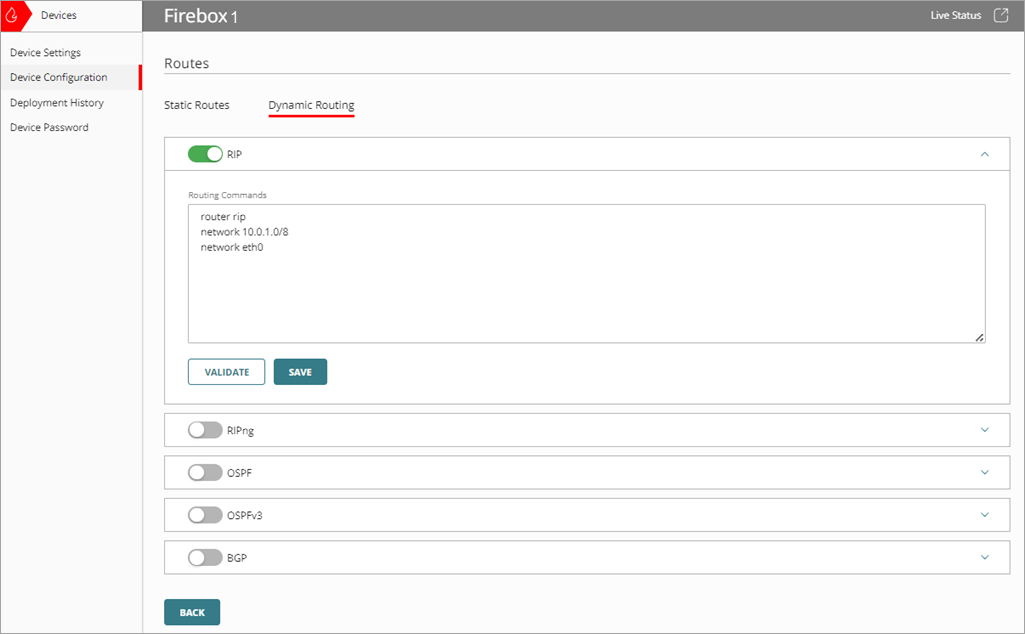
- (Optional) To send the configuration of a dynamic routing protocol to the cloud-managed Firebox for validation, click Validate. For more information, go to the Validate a Dynamic Routing Configuration section of this topic.
- Click Save.
- Deploy the configuration.
Validate a Dynamic Routing Configuration
You can send a dynamic routing protocol configuration to a cloud-managed Firebox for validation. The configuration includes the contents of the Routing Commands text box. When the Firebox receives the configuration, it validates the routing commands in the configuration against its current configuration.
Make sure the cloud-managed Firebox is connected to WatchGuard Cloud so that validation can take place.
To validate a dynamic routing configuration, from WatchGuard Cloud:
- Select Configure > Devices.
- Select the cloud-managed Firebox.
- Click Device Configuration.
- In the Networking section, click the Routes widget.
The Routes page opens.
- Select the Dynamic Routing tab.
- Select a dynamic routing protocol that you previously configured routing commands for.
The Routing Commands text box opens.
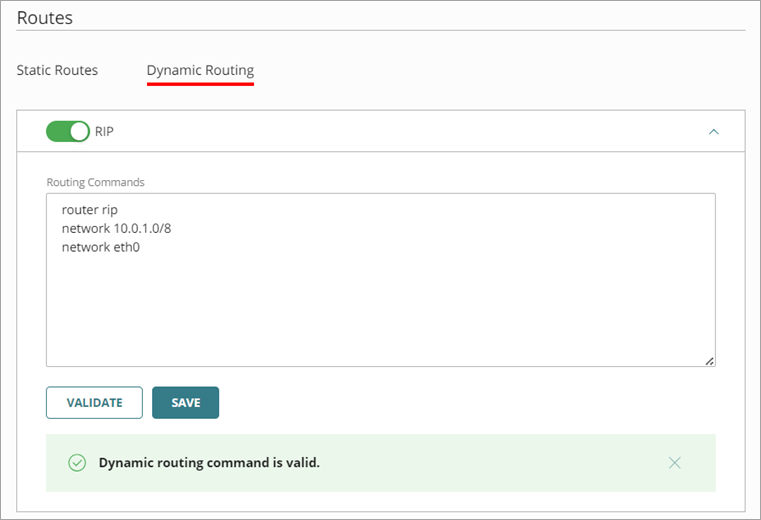
- Click Validate.
The configuration is sent to the cloud-managed Firebox for validation.
If the configuration is not valid, an error message appears with information about the configuration error and its location. You can correct the issue and try to validate the configuration again.
Disable a Dynamic Routing Configuration
To disable a dynamic routing configuration, from WatchGuard Cloud:
- Click the Routes widget.
The Routes page opens. - Select the Dynamic Routing tab.
- Select a dynamic routing protocol that you previously configured routing commands for.
The Routing Commands text box opens. - Disable the dynamic routing protocol.
Commands are kept for when you enable the protocol again.
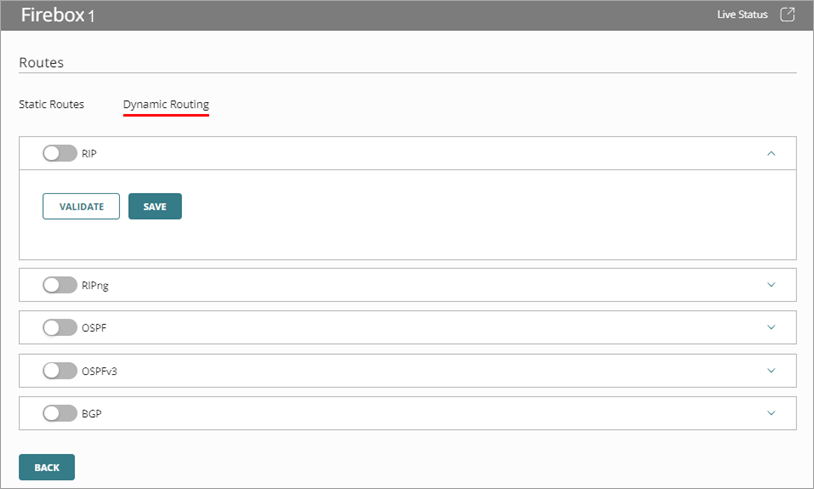
- Click Save.
- Deploy the configuration.
WatchGuard Cloud automatically removes dynamic routing first-run system policies when you disable a dynamic routing protocol.
Monitor Dynamic Routing
When you enable dynamic routing and add protocol routing commands, you can view the current dynamic routing information from the Live Status > Networks > Dynamic Routing page. For more information, go to Monitor Networks on Fireboxes and FireClusters.